
Today I've got another DIY for you - how to make your own yarn swift from things you can pick up at Goodwill!
I've needed a swift for a long time, but it never seems to make it to the top of the supply list, so I thought for quite a while about how I could just make one with stuff I had on hand or could pick up used. My first idea was an upside down umbrella, but I couldn't quite figure out how to make the yarn stay where I wanted. My next thought was an expandable wine rack, which is actually what I went to find at Goodwill, but they didn't have one, so I ended up with the coat rack instead, and I think it actually worked better. If you'd like to make one, please read on!
To make this project, you will need:
1 Expandable Coat Rack,
4 Large Pegs (I used these Shaker Pegs that we found at Home Depot, but any pegs that are about 3 inches or longer will work)
1 Lazy Susan (Mine is a 15 inch from Ikea. I wouldn't go any larger than that but smaller would be fine.)
6 screws (The thickness will depend on how thick your shoe rack and Lazy Susan are; you will be screwing two of them into both pieces to hold them together, so you'll want the screws to be long enough to get through both. Mine were about two inches.)
A drill (While this project could be done with just a screwdriver, it would take a lot of arm power and time. I don't recommend it!)
I found my pieces in my own hoard of junk, and Goodwill. You could certainly buy each piece new, but I'm not sure it would save you a significant amount. My swift ended up costing about $14, as I already had a Lazy Susan, the drill, and the screws. I bought a coat rack (that was originally $30 at World Market) for $8 at Goodwill, and the pegs were about $6 new at Home Depot.
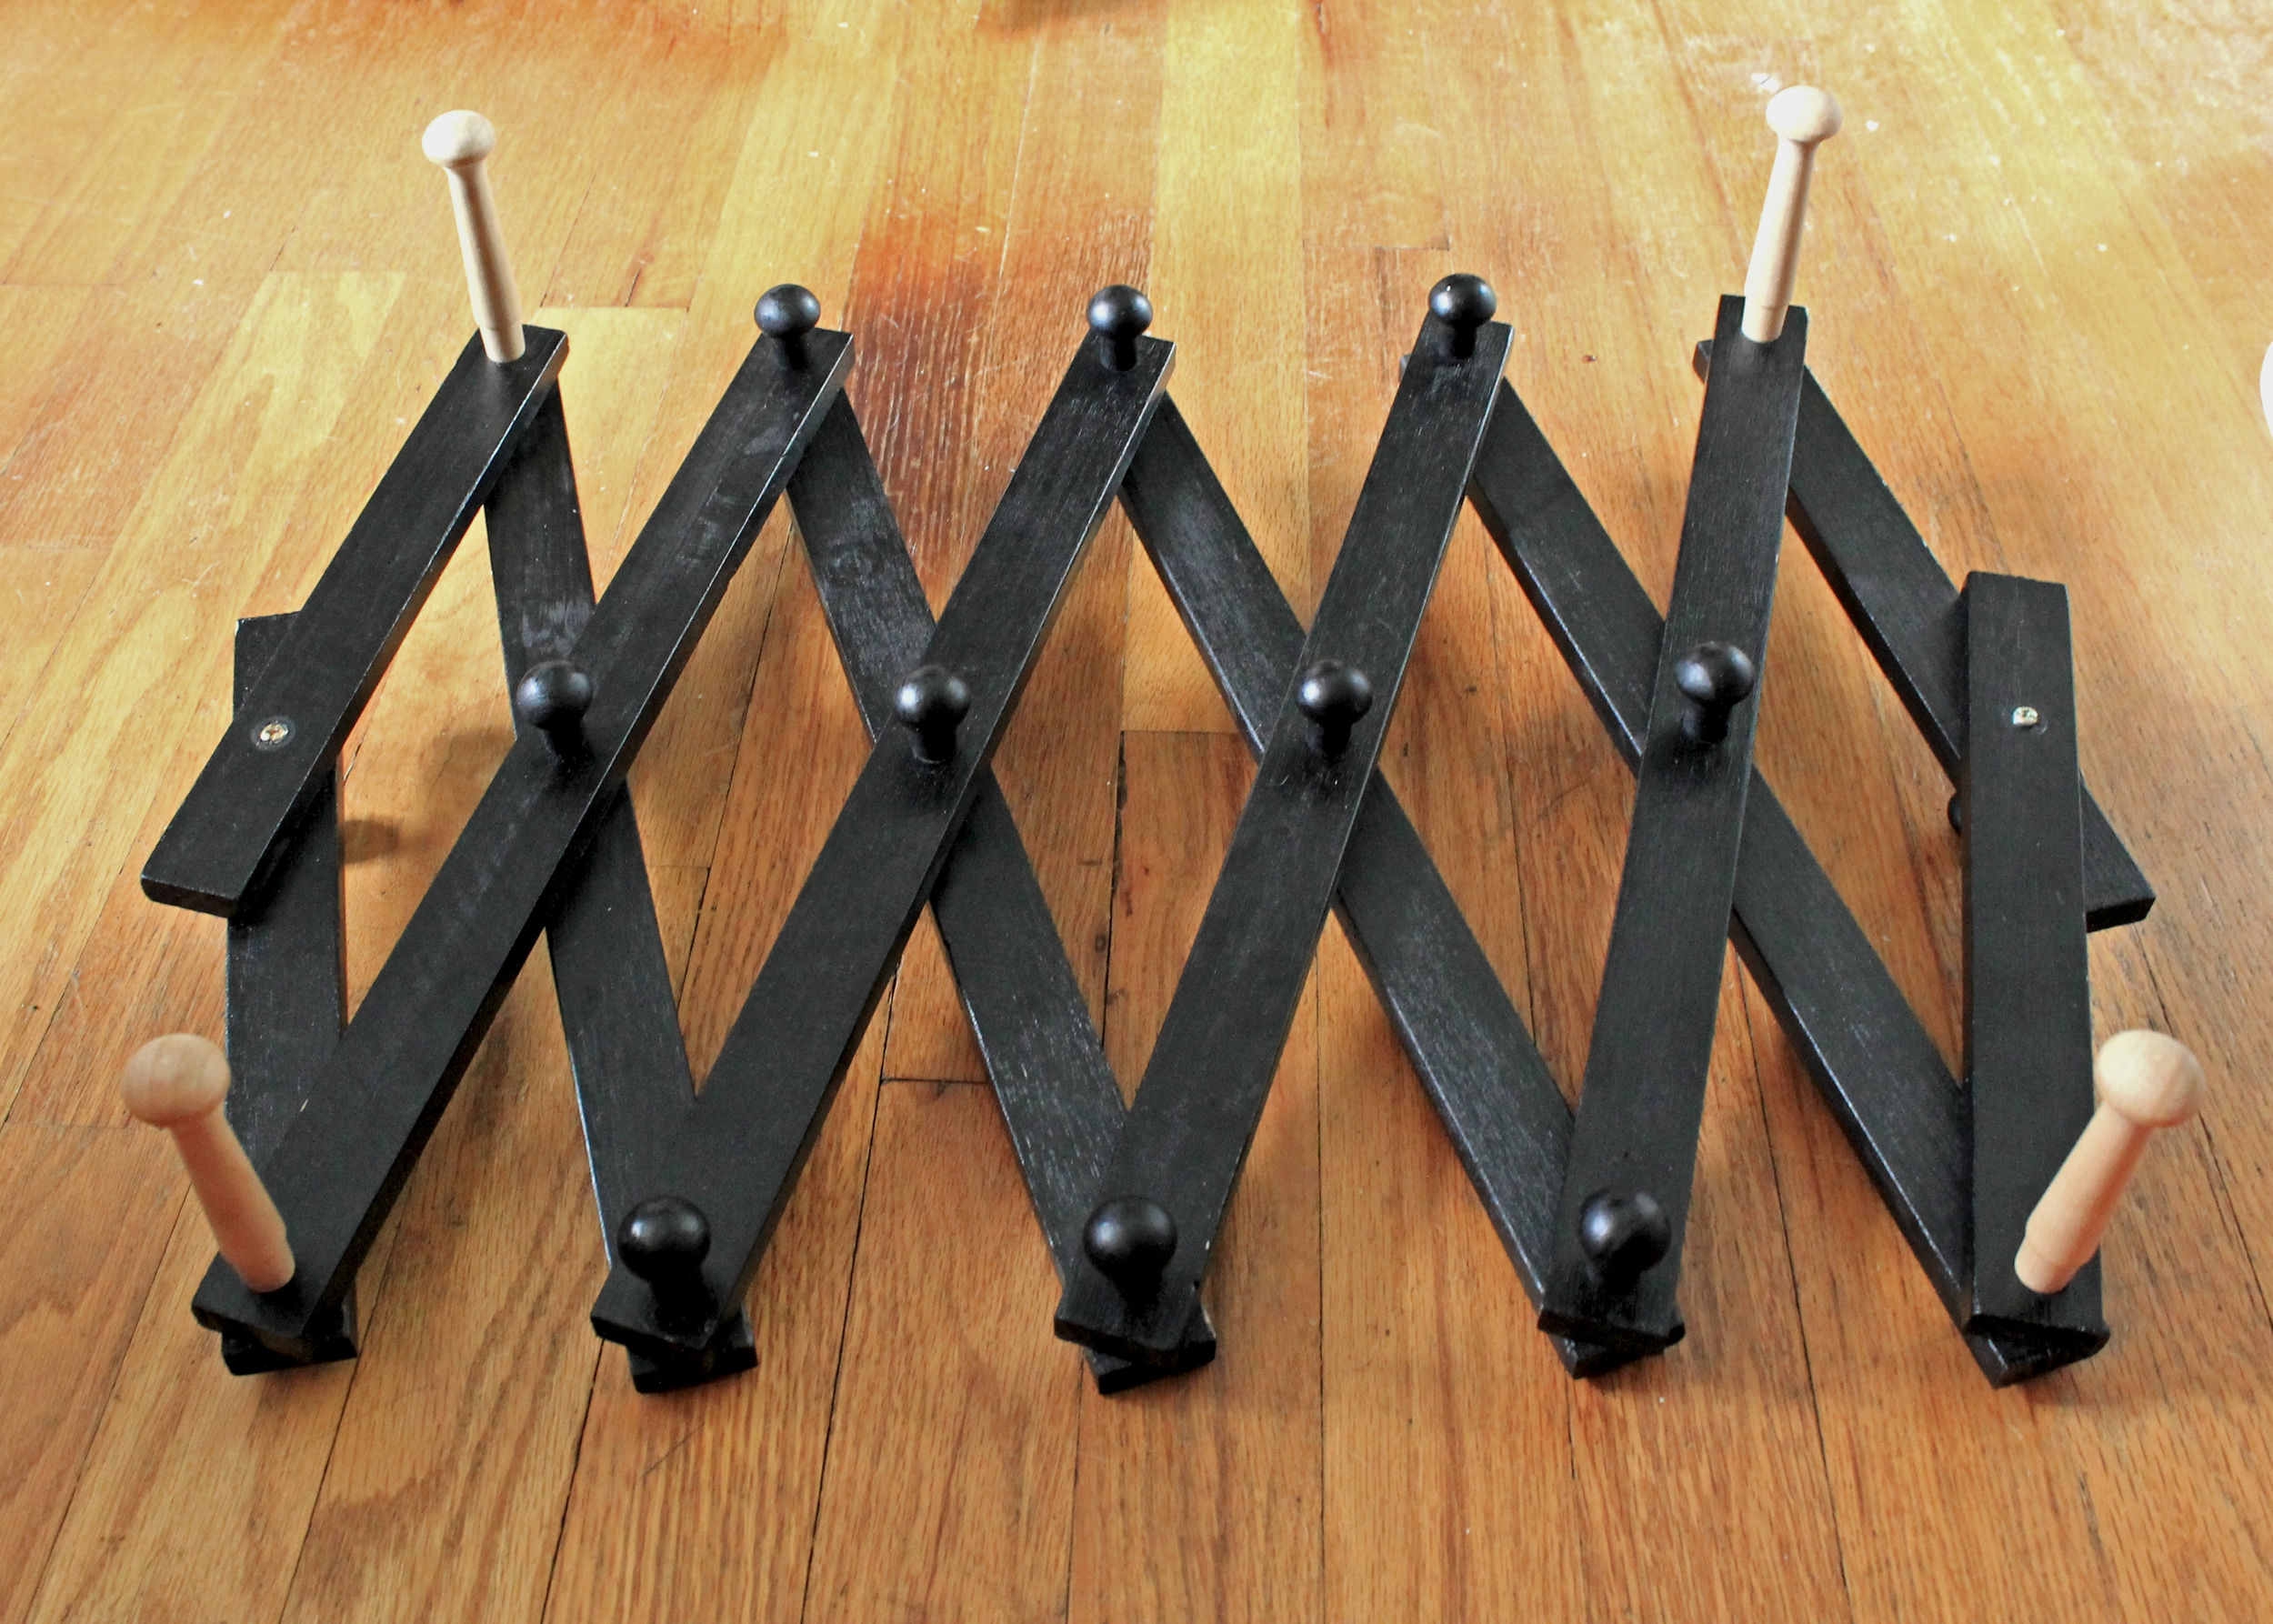
So, on to making your swift! Start with your coat rack and pegs.
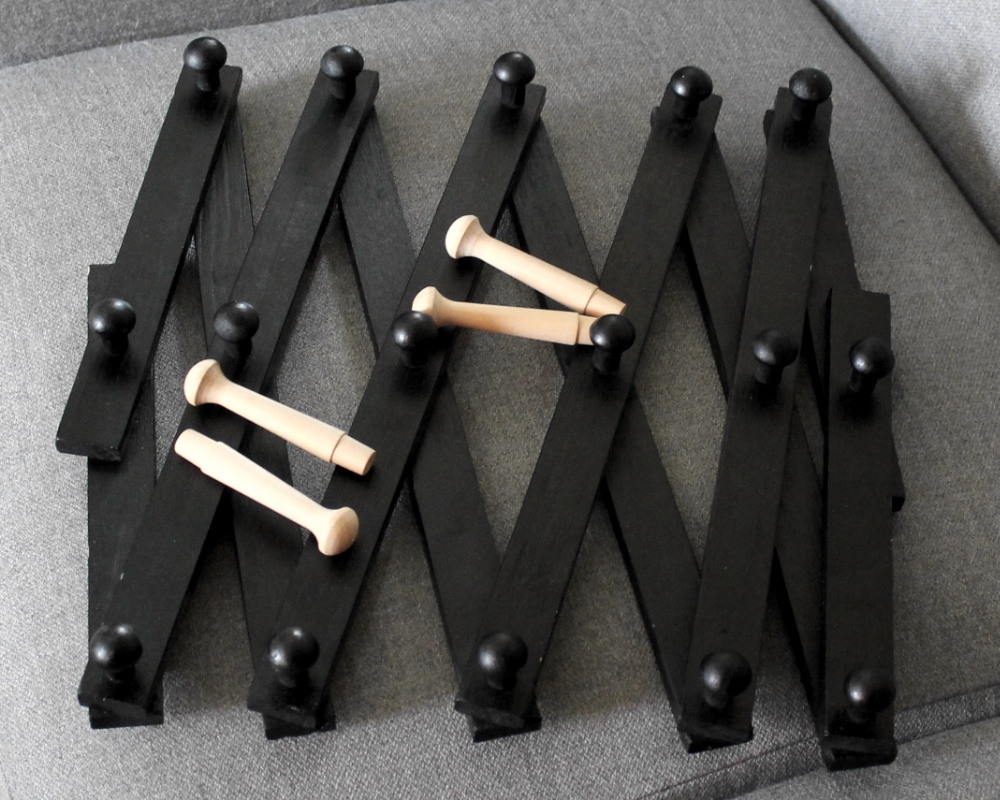
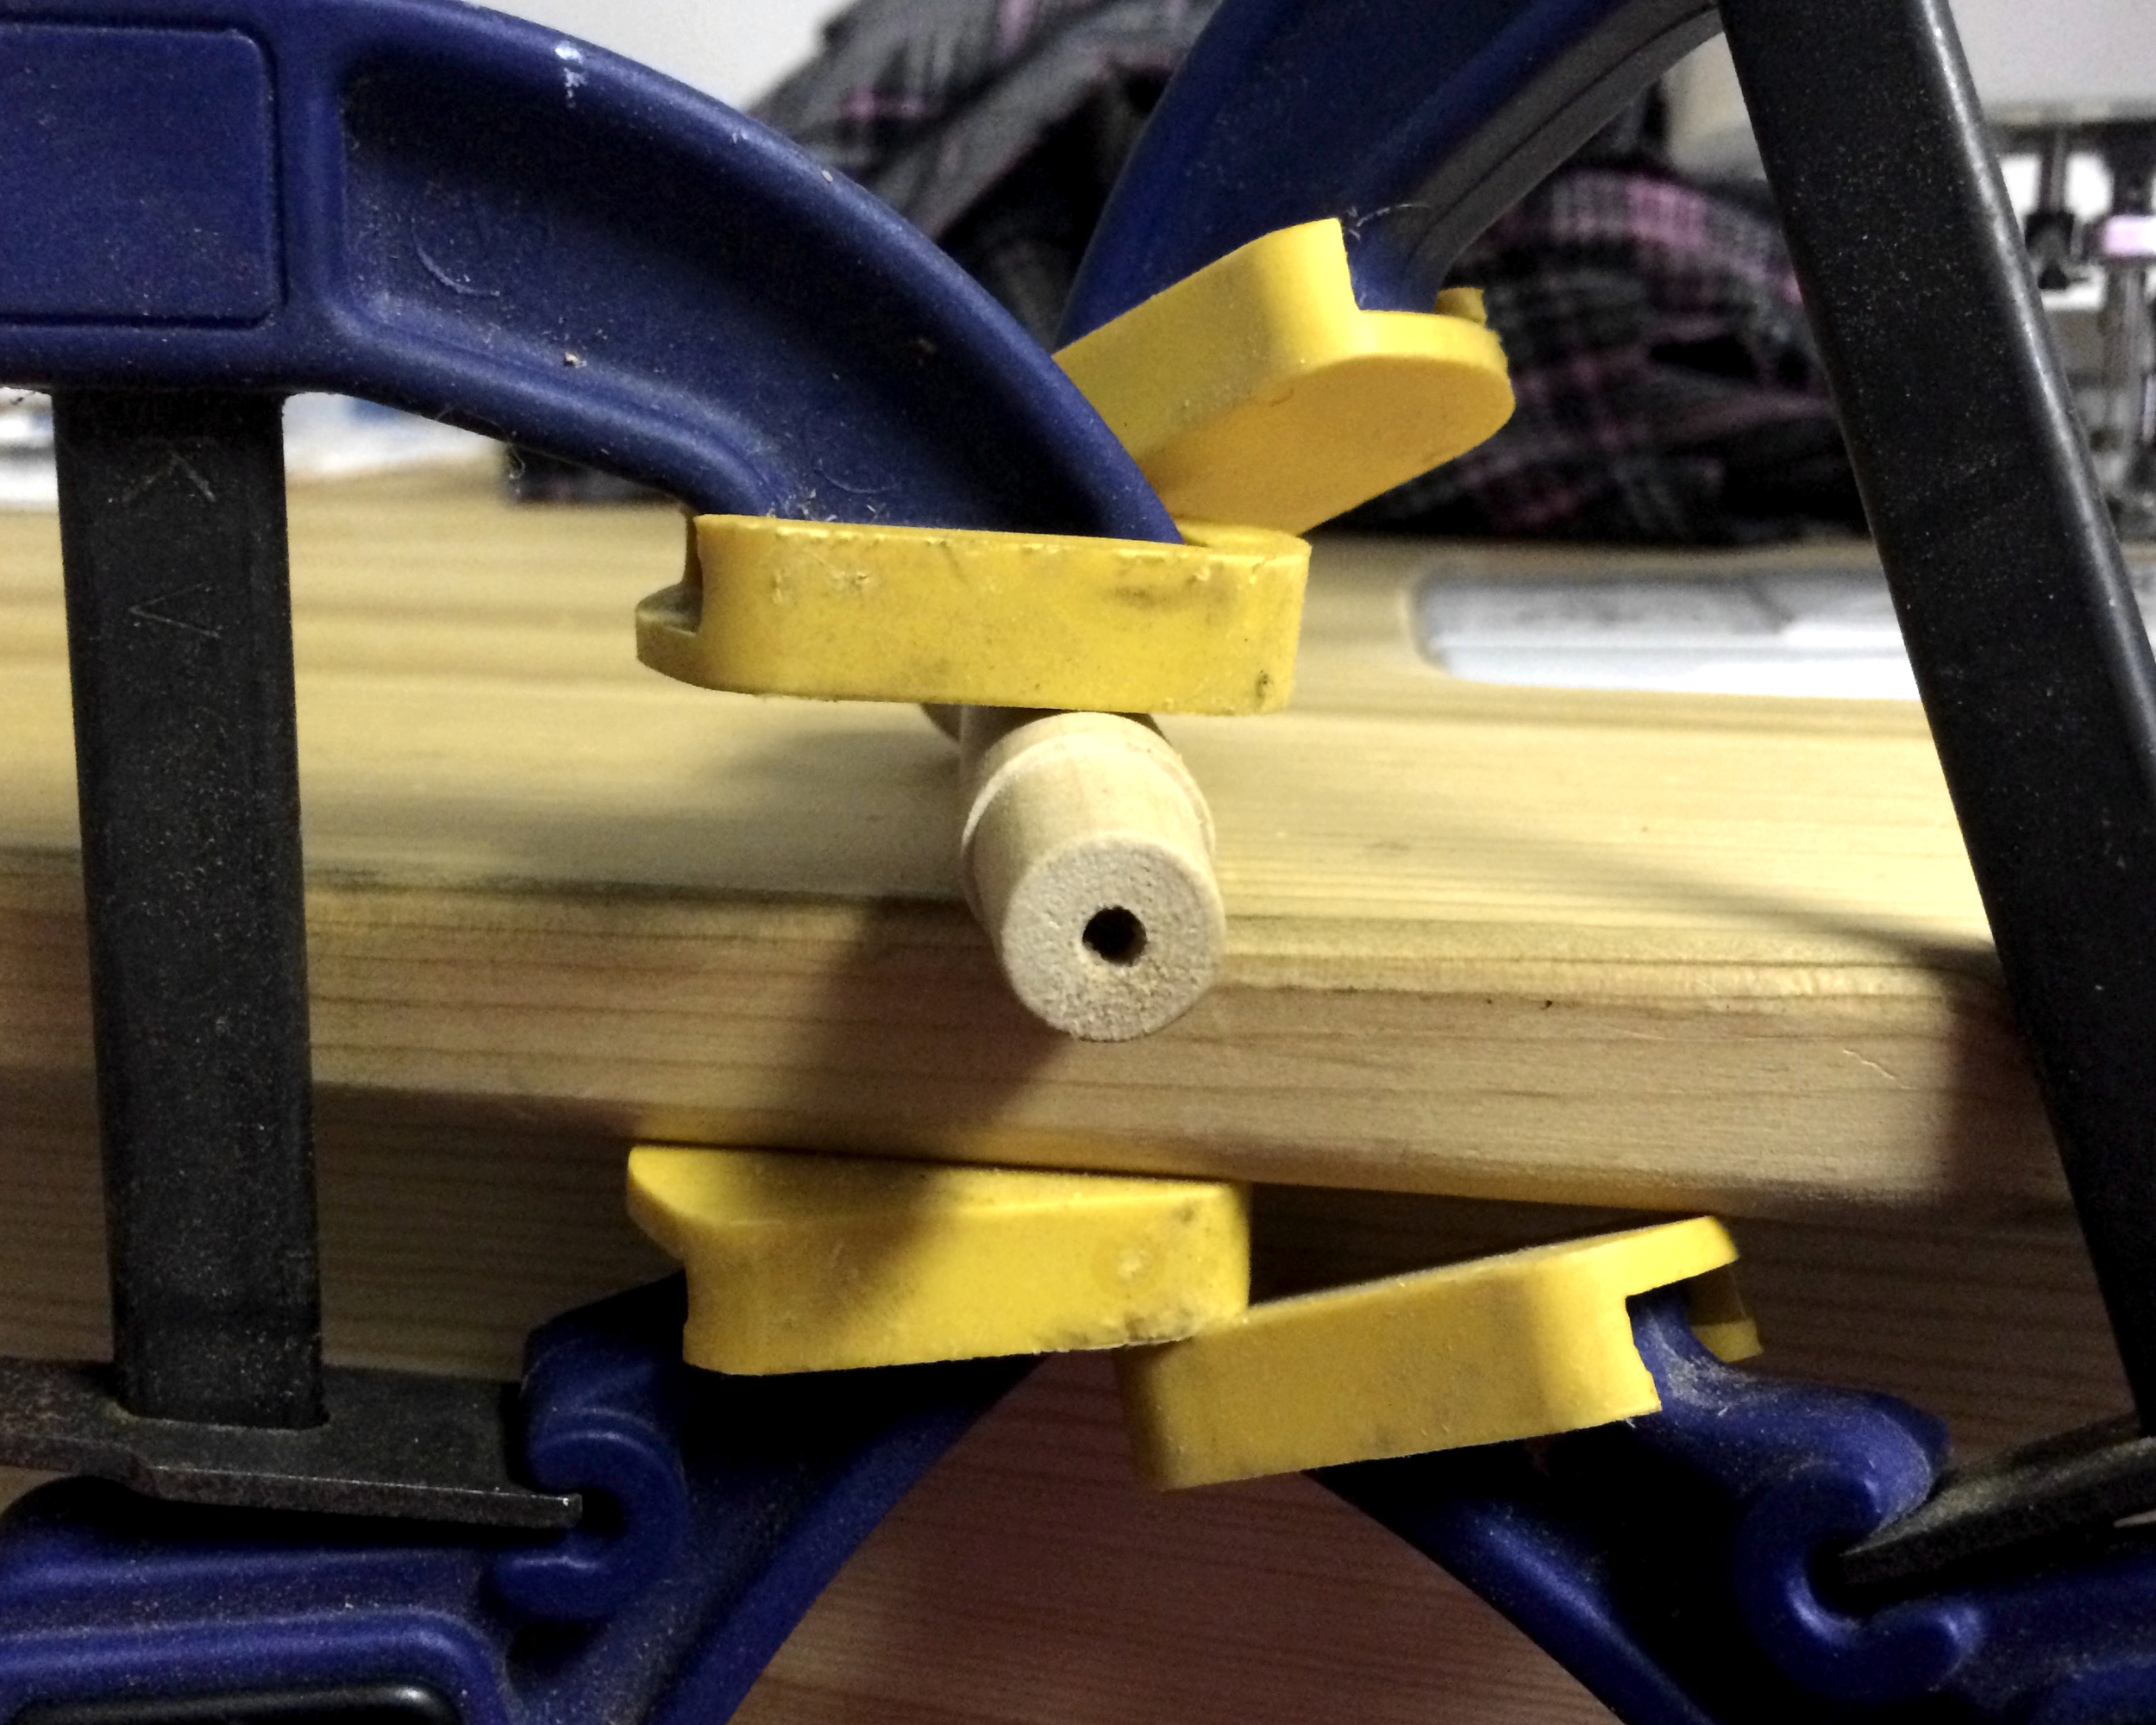
You're going to be replacing the short peg on each corner with a longer one. Take your drill and make a pilot hole in each peg, like so:
Then, take the short pegs off of the corners and replace them with long pegs:

You may be able to reuse the screws that you already took out, but in my case, the short pegs were held on with flat ended screws (rather than the more usual pointed end), so I had to use different ones. Now, see that lone short peg on the very end of the coat rack up there? Go ahead and just turn it around - it might catch the yarn when you're winding. There's no need to cut anything or get fancy with it (unless you want to), so just switch the peg to the back. When you're done, it should look like this on the back:
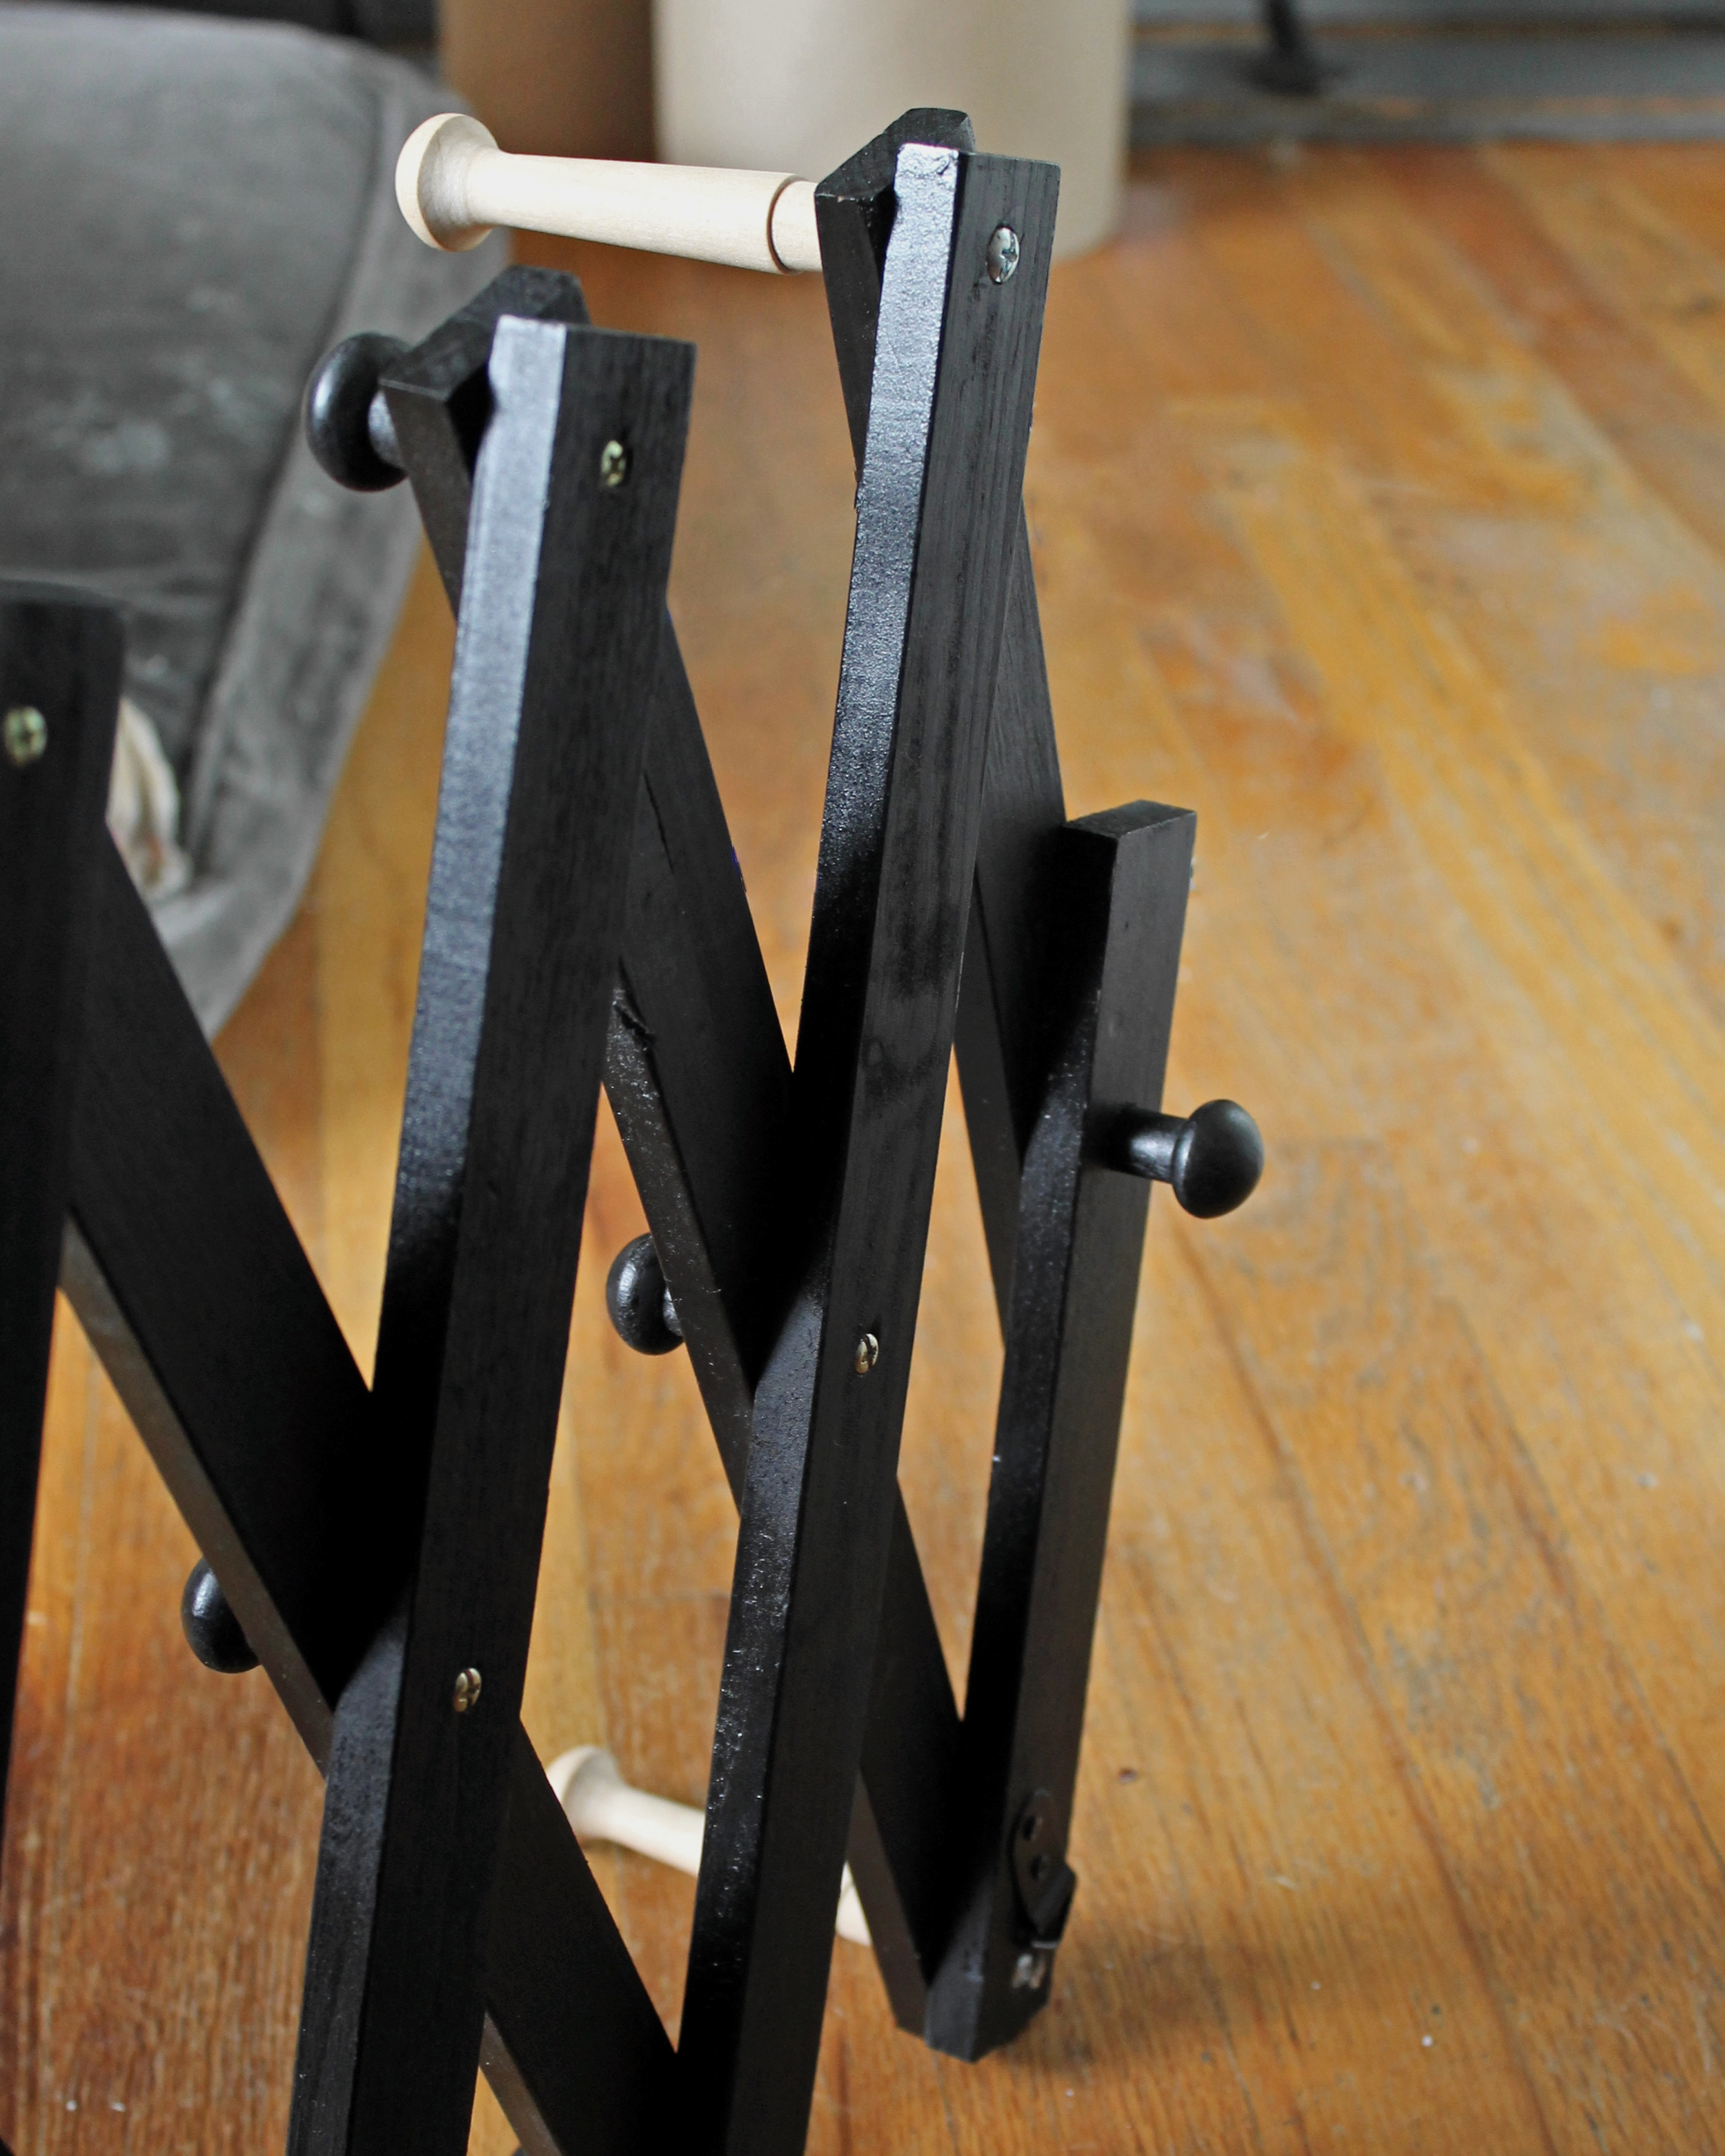 And like this on the front:
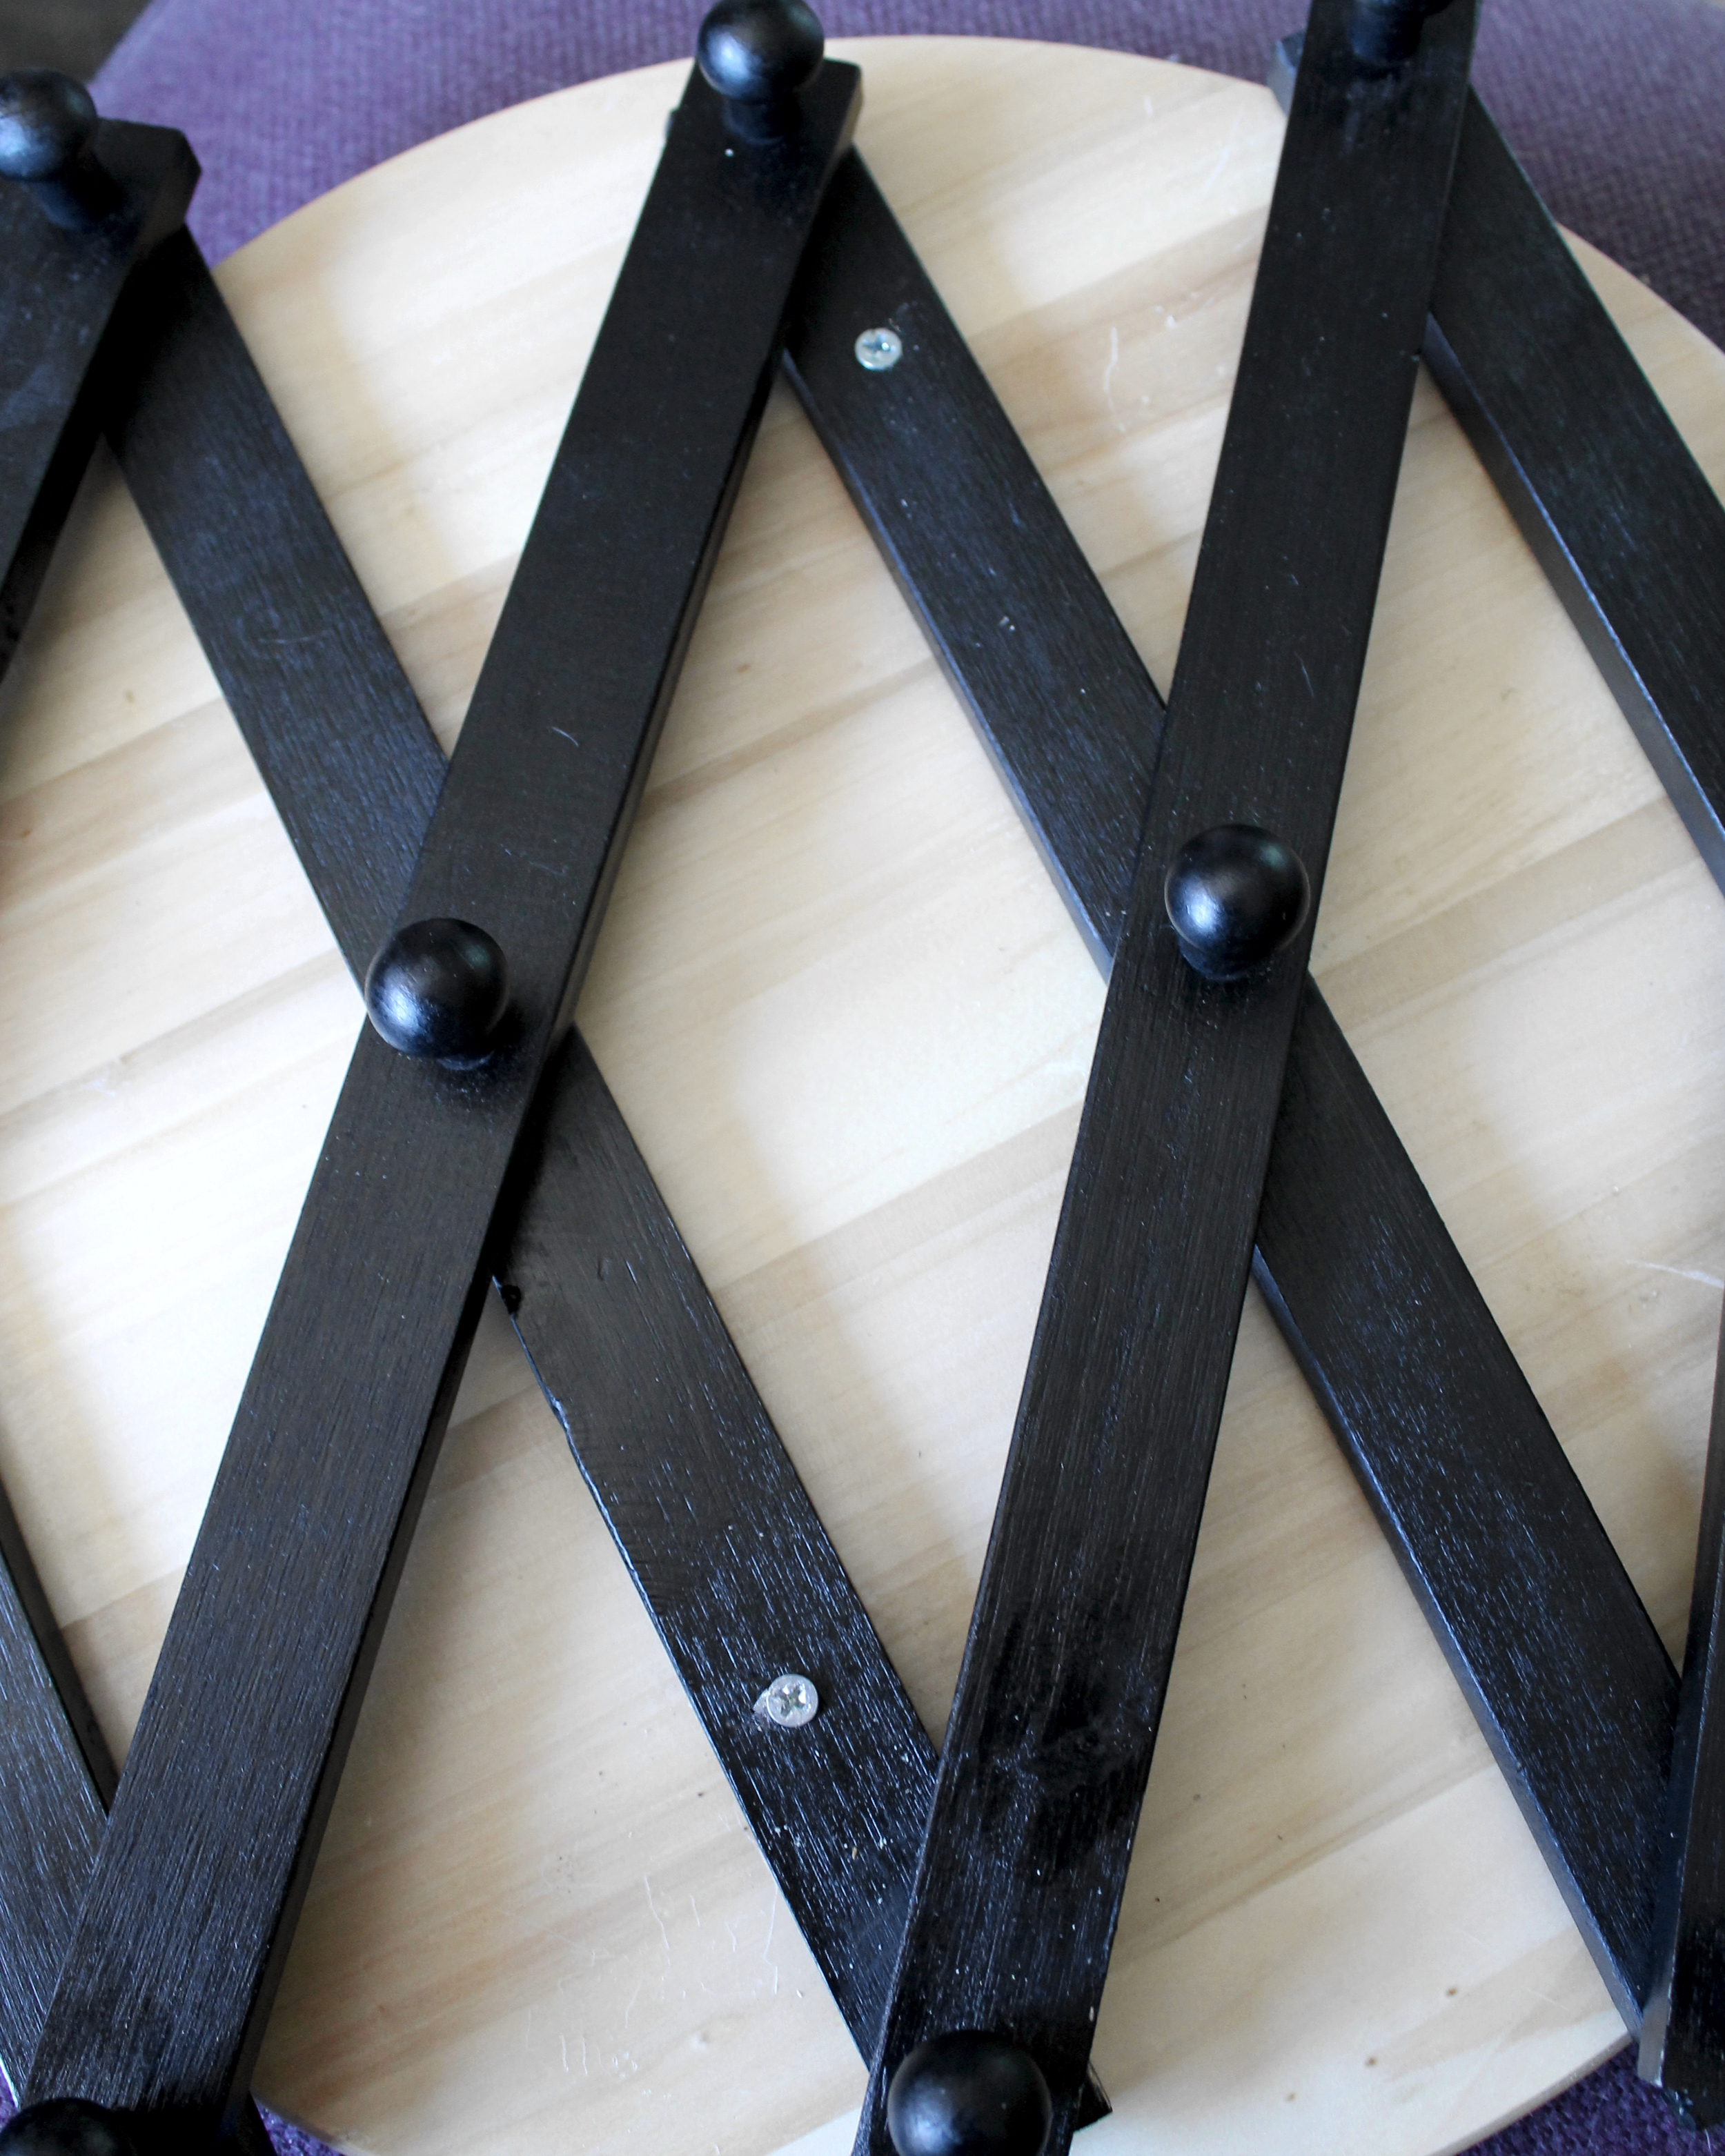
You're halfway there! Now take your coat rack and center it on top of the Lazy Susan; it doesn't have to be exact, so I just eyeballed mine, but you could measure if you'd like.

Then clamp it down so there's no sliding around while you're trying to drill.

Take your drill and put two more pilot holes on the bottom middle rungs, where the pink arrows are pointing in the above picture. You want to put them as far from the very middle as you can, so that you don't drill into the base. Then drill your screw into each hole; if you find that the pointy end reaches down far enough to touch whatever surface you've got your swift on, it's too long! You want it to go through the coat rack and the Lazy Susan with only a little of the pointy end poking through on the bottom. It should look like this when you're done:
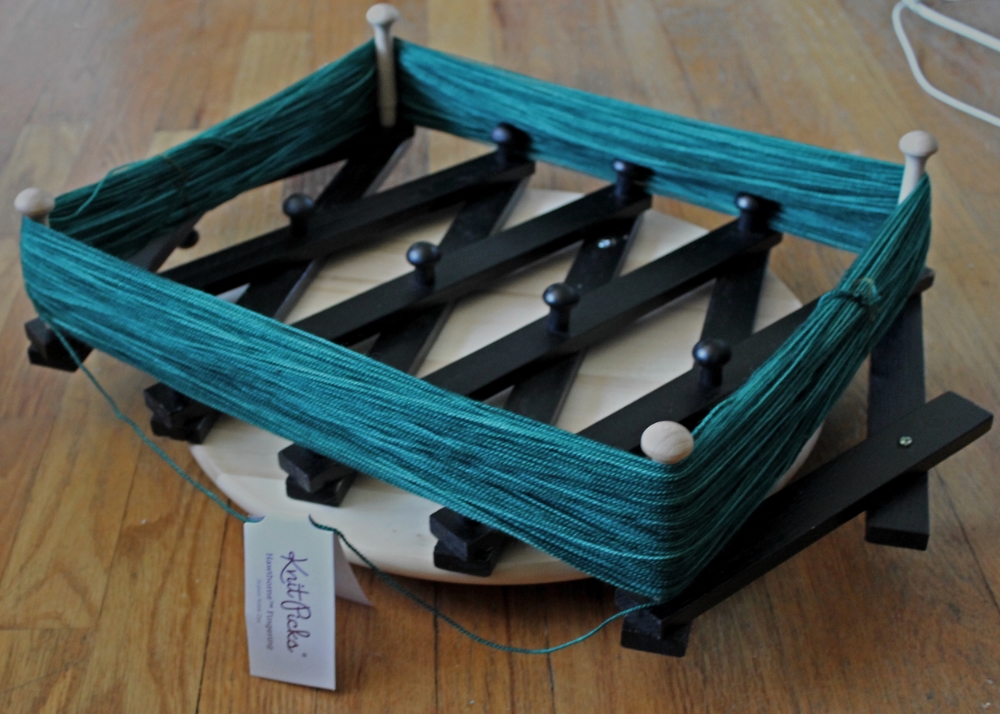
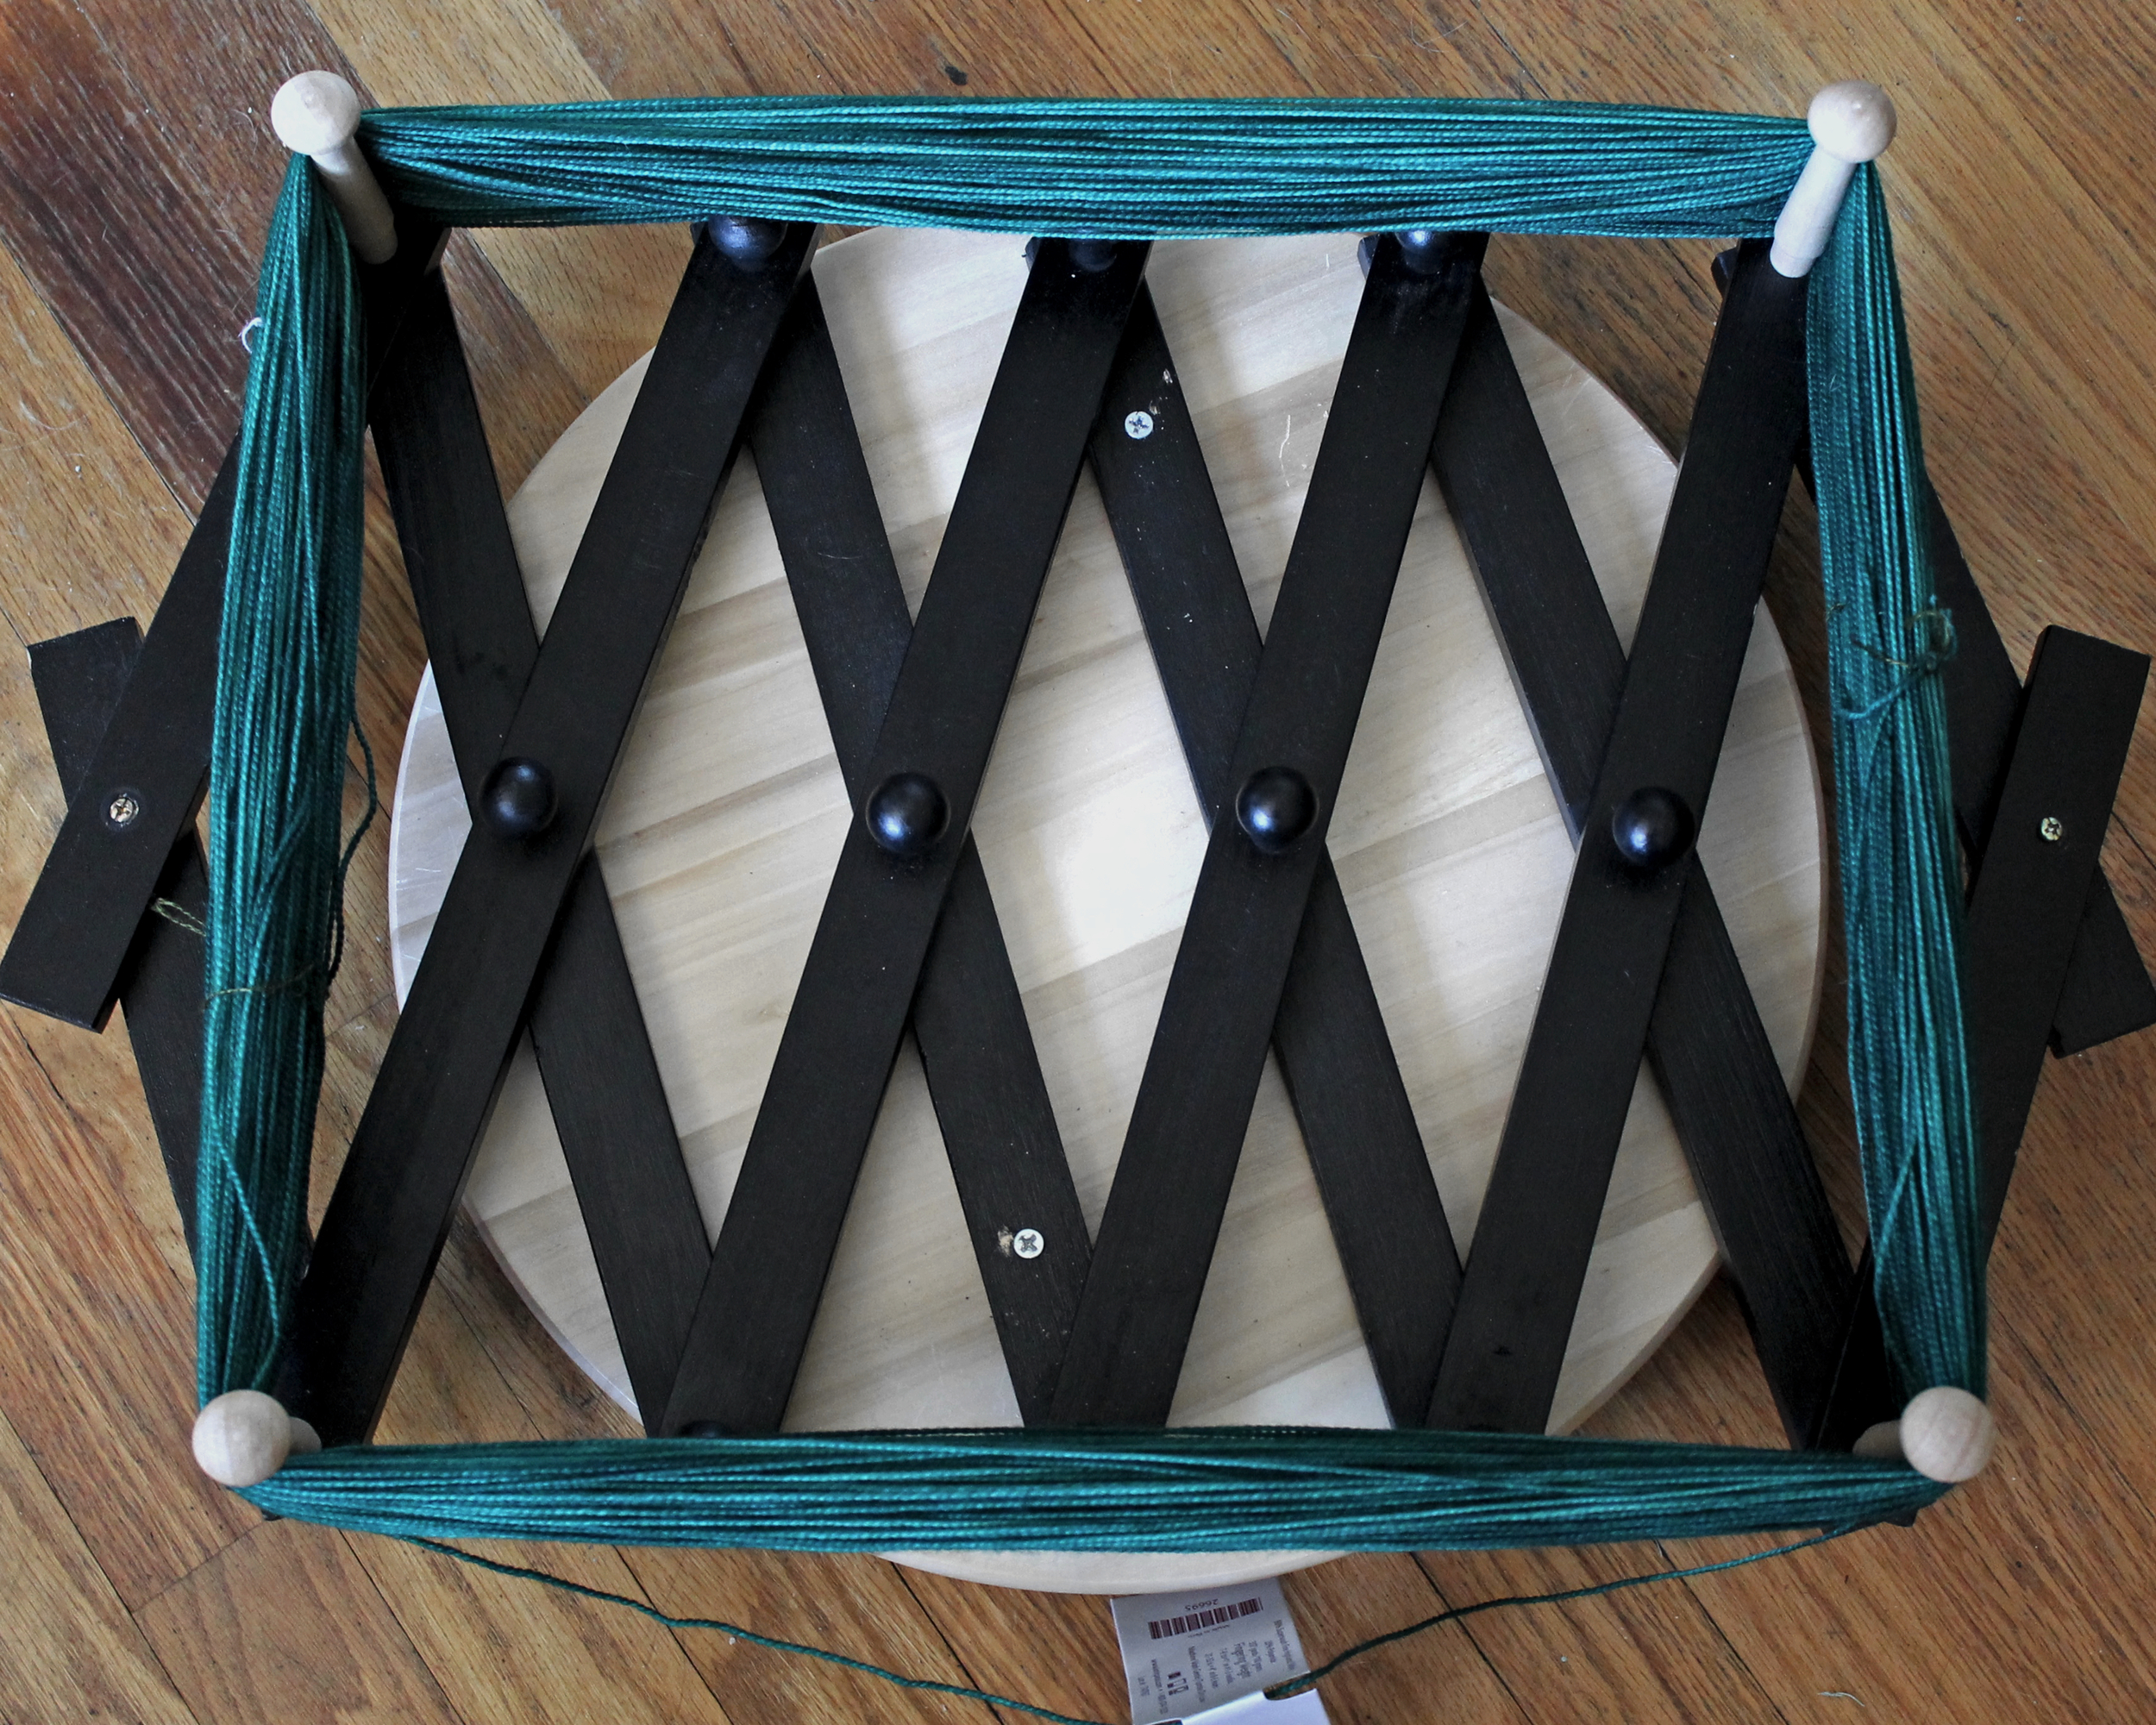
And you're finished! The coat rack part of your swift should still contract in and out, so it should be able to accommodate most skeins of yarn. I tried it out with some Hawthorne Fingering from Knit Picks, and it looked great!
I don't have a ball winder either, so I use an old medicine bottle, and to show you how to do it, we made a video! It's my first one, and we accidentally filmed in portrait (not knowing that all editing software turns it into landscape - oops!), but I think it's got some good info and will teach you how to wind yarn, starting from the very beginning; most of you knitting veterans won't need it, but I thought it would be a good brush up, or a place to start for newbies!
[embed]https://www.youtube.com/watch?v=Ti67GCh6iuU[/embed]
I hope this helps at least a few of you, and if you end up making one, I'd love to see it on Instagram or Facebook!